

Many have been asking: How do I create a wordpress website step by step for free?
Can I create a wordpress website for free?
I know having a website up and running is a good idea to you.
But the thought of how to create it yourself step by step for free could be terrifying. You aren’t alone.
Why?
Because we aren’t all geeky or tech gurus.
This is me some months ago. But my desire pushed me to take tutorials on how to create professional websites step by step using wordpress and the result is ContNova.
I believe you can do it too, or even better!
So, this step by step guide is all you need to move from a beginner web designer to an experienced one.
Don’t worry. The process is easy to follow whether you’re 16years old or 60.
And I’ll also be available to help you in case you’re stuck in the process or confused about something.
Just reach out to me.
What do You Need to Create a WordPress Blog or Website?
There are just three compulsory things you need to create your website using wordpress:
-
- A domain name. (This will be the name of your blog or website e.g contnova.com)
-
- A web hosting account. (This will serve as the house of your website where all its data are stored on the internet.)
-
- Your undivided attention of maybe 1hour, and 30minutes.
In the guide, you will learn the following:
-
- How to choose and Register a Custom Domain Name For Free
-
- How to Install and Setup WordPress Website
-
- How to Transform Your WordPress Site with a New Design Template
-
- How to Write and Publish Your First WordPress Post
-
- How to Beautify and Enhance Your WordPress Site with Customization Plugins
-
- How to Add a Contact Form to Your WordPress Website
-
- How to Boost Your SEO and Skyrocket Your Traffic with WordPress Optimization
-
- How to Back up Your WordPress to Avoid Loss
-
- Additional Free and Practical Video Tutorials to Master WordPress Web Design
Now, let’s cut down to the chase.
Stage 1: How to choose and Register a Custom Domain Name For Free
When it comes to creating a website, one of the first things you’ll need to do is to choose and register a custom domain name.
A domain name is essentially the address of your website.
It’s what people type into their browser to access your site. And it’s a crucial part of your online presence.
So, it’s important to choose a suitable and simple name for your website.
A name that can be easily spelt and memorable. The name could also be related to your niche such as hotels.ng.
This will greatly help your audience recall and spell your website correctly which will increase your website traffic.
So, how do you go about registering a custom domain name for your website?
Here’s how:
Choose the right domain name registrar firstly. A domain name registrar is a company that sells domain names.
Some popular options include GoDaddy, Namecheap, and truehost.
The latter is my favorite. And if you’re living in Nigeria, you should consider truehost because of its flexibility and easy method of payment.
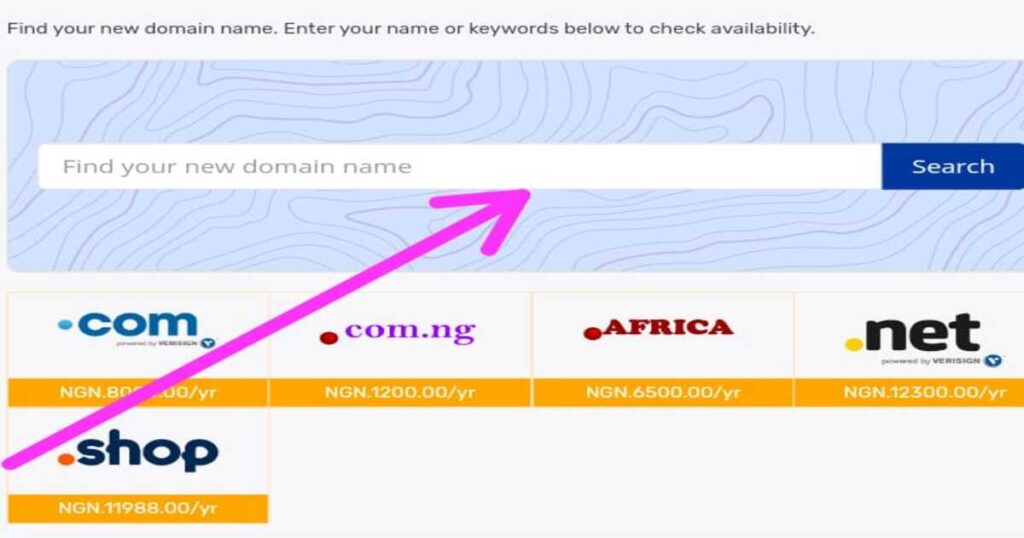
So, once you’ve chosen a registrar, you’ll need to check if the domain name you want is available.
Most registrars have a search tool that allows you to do this.
Simply type in your desired domain name and the tool will let you know if it’s available or not.
Purchase the domain name. If the domain name you want is available, you can proceed to purchase it.
The cost of a domain name will vary depending on the registrar and the extension you choose (e.g., .com, .net, .org).
In my case with truehost, I spent N12, 800 for both domain name and hosting. However, you can get free domain name using my referral link to register, and also enjoy charges cut on hosting.
Please, note that I’ll earn a commission when you use my referral link. This would encourage me to do more. And I’ll really appreciate it.
So, move to the next step to set up your domain name.
Once you’ve purchased your domain name, you’ll need to set it up.
This typically involves pointing your domain name to your web hosting provider, so that when someone types in your domain name, they are directed to your website.
There are videos attached to this guide that illustrate this clearly.
You’ll need to renew your domain name once it expires.
The package I use and the referral link spans for a year before renewal. So, you wouldn’t need to renew your plan until after a year.
But don’t forget to renew your domain name when it’s time! If you don’t renew your domain name, it will expire and someone else may be able to purchase it.
So, let’s go ahead and purchase your domain name and hosting.
Just click and open up Truehost on a new window and follow along.
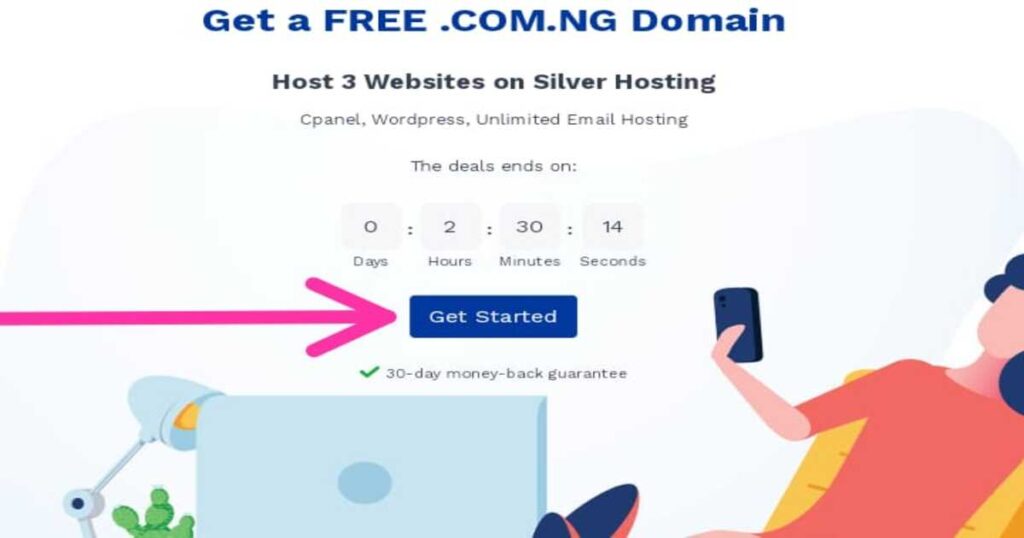
What you need do first is to click on the green “Get Started” button to get started.
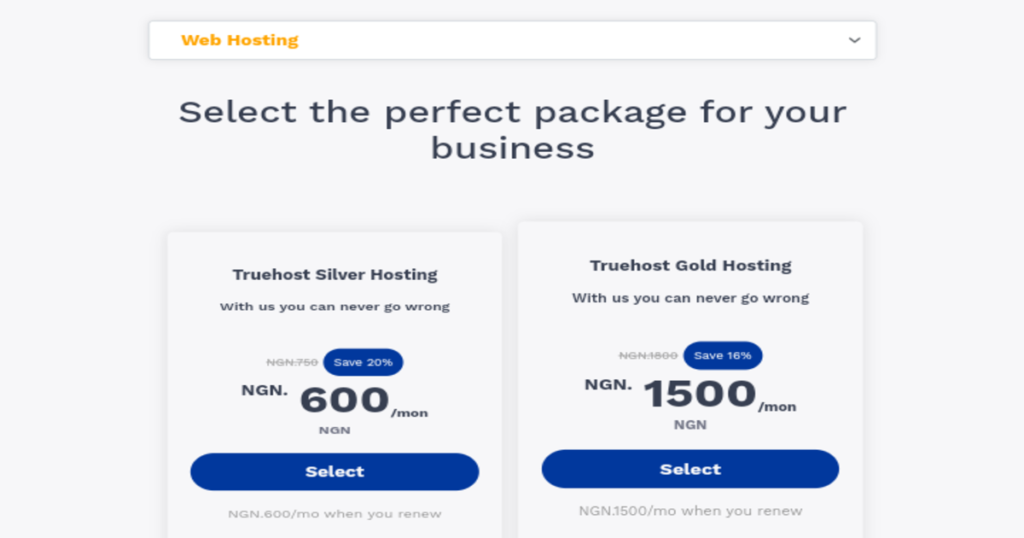
On the next screen, select your plan that is suitable for your needs (I use Truehost silver hosting since my website is only for publishing posts with customized email addresses).
After this, you will be required to enter your preferred domain name for your website.
Remember, the search function on this page is meant for you to check the availability of your domain name before registering. It’s free, use it as much as possible to get good name.
Lastly, you’ll need to input your account information to finalize the process.
And once you’re done filling in your details with valid email address, your domain and hosting become active in a matter of minutes.
Once all is done well, you’ll receive an email containing your login details to your web hosting control panel (cpanel).
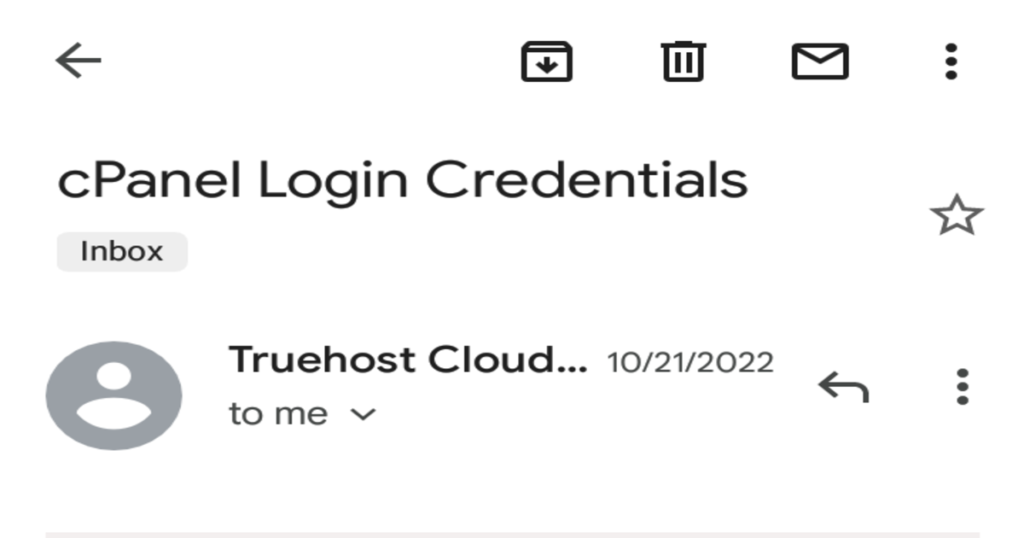
The cpanel is where you manage everything about your website from emails, and wordpress installation.
Don’t just worry. Let me know if you have any difficulty at any stage. I’ll help you for free.
Stage 2: How to Install and Setup WordPress Website for Free
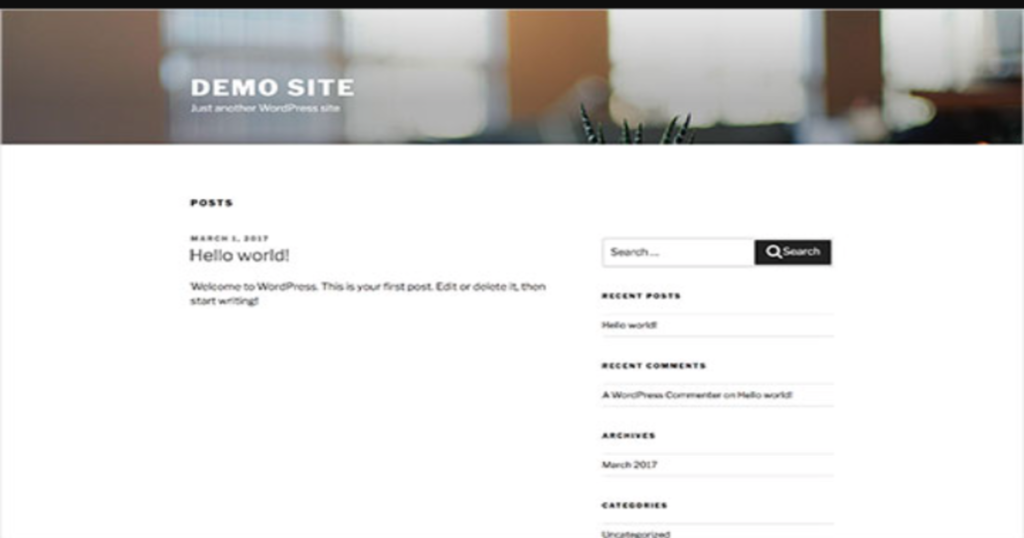
WordPress is a popular content management system (CMS) that makes it so easy to create and manage websites.
Once you’ve chosen your web host, you’ll need to install WordPress on your hosting account.
Most web hosts offer a one-click installation process that makes it easy to install WordPress.
If your host doesn’t offer this, you can install WordPress manually by uploading the WordPress files to your hosting account and creating a MySQL database.
But this is needless if you chose truehost and followed the steps above.
Simply login to your truehost account to install wordpress. Click on WordPress and install.
Once you’re done installing it which takes about 10minutes or 20, login to your wordpress by typing your websitename.com/wp-admin directly on your browser.
After you’ve logged in, the next step is to choose a theme.
A theme is a pre-designed template that controls the appearance and layout of your website.
WordPress has thousands of free and premium themes to choose from.
So, scroll down on the dashboard and click on themes and select Add New.
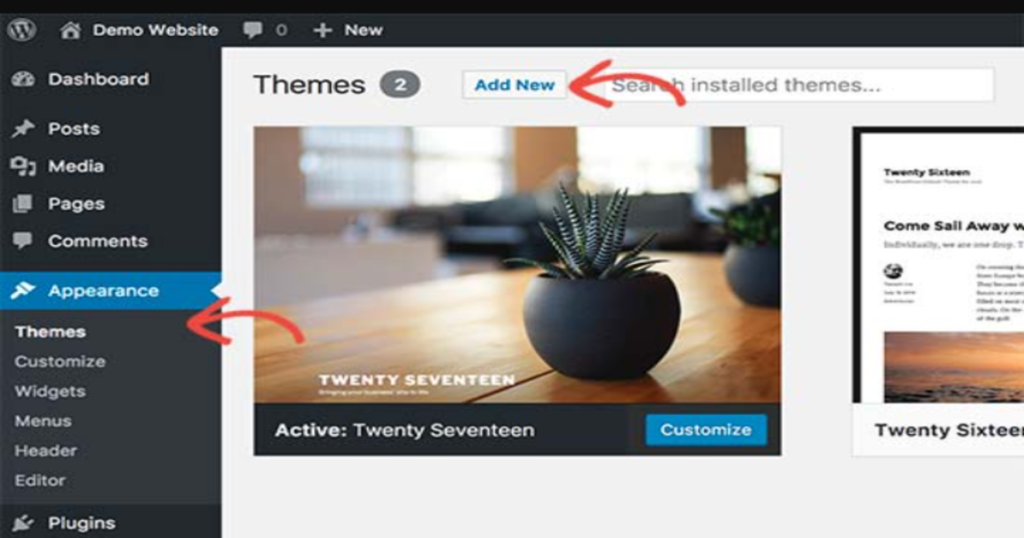
Having done this, you’ll have a new page where you can search and install your preferred theme. My favorite theme so far is the Astra theme.
This is owned to its simplicity and flexibility. So, search for ‘astra’ install and activate it. Once you’re through activating the theme, you can then customize it under the Appearance menu to your taste.
Now that your WordPress site is set up and you’ve chosen a theme, you’re ready to start adding content. You can add new pages and posts, upload images and videos, and customize your site’s appearance using the WordPress dashboard.
The video tutorials at the end of this guide will give you a clear understanding of this aspect.
Stage 3: How to Write and Publish Your First WordPress Post
Writing your first blog post on WordPress is easy and can be done in just a few simple steps. Whether you’re using WordPress for a personal blog or a professional website, this guide will help you get it done easily.
Log in to your WordPress dashboard.
And go to the “Posts” section on the left-hand side of the dashboard.
Click on the “Add New” button.
Enter a title for your blog post in the “Enter title here” field.
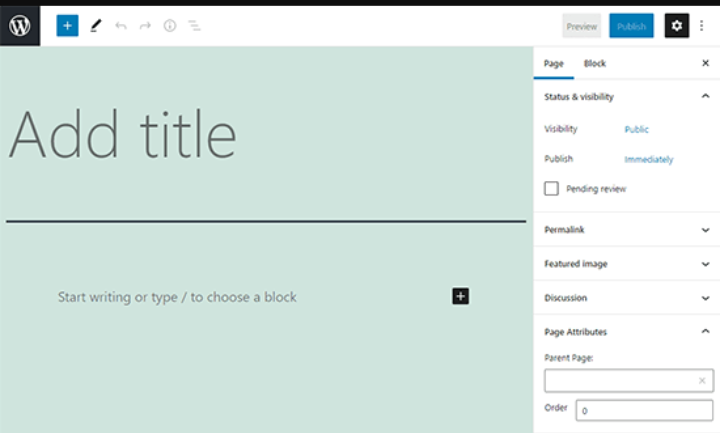
Write your blog post in the text editor. You can use the formatting options to add headings, lists, and other formatting to your post.
Add any images or other media to your post using the “Add Media” button.
Choose a category for your post using the “Categories” dropdown menu.
Preview your post to see how it will look on your blog.
When you’re ready to publish your post, click the “Publish” button.
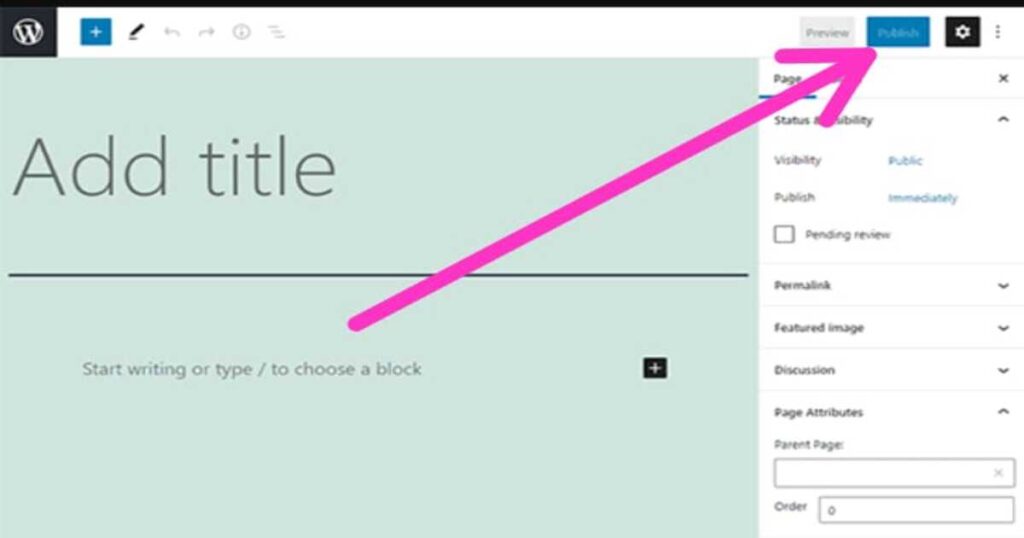
That’s all it takes to write your first blog post on WordPress. Just follow these simple steps and you’ll be up and running in no time.
Stage 4: How to Beautify and Enhance Your WordPress Site with Customization Plugins
Plugins are small pieces of software that add new features and functionality to your WordPress blog.
With over 55,000 plugins available, there’s a plugin for just about anything you can think of. Here’s how to customize your WordPress blog with plugins:
Log in to your WordPress dashboard.
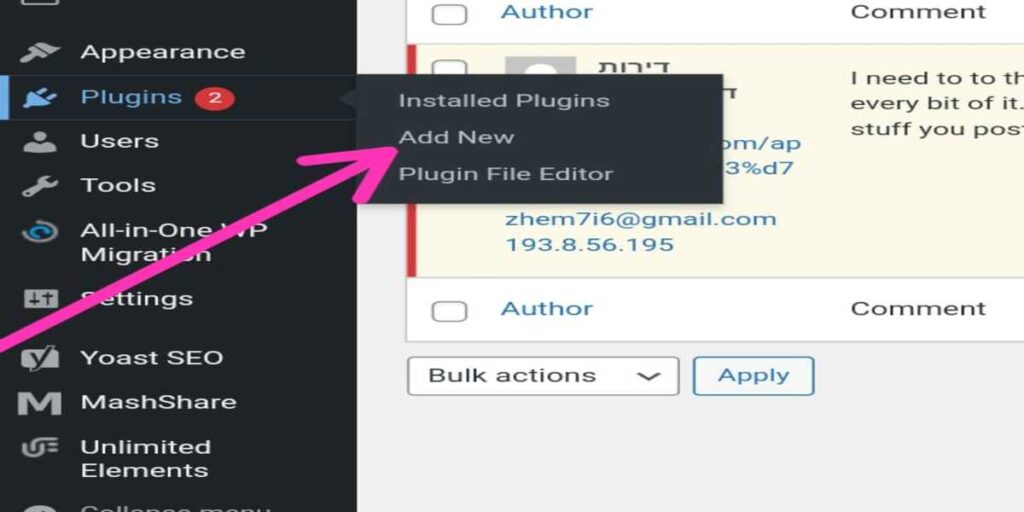
Go to the “Plugins” section on the left-hand side of the dashboard.
Click on the “Add New” button.
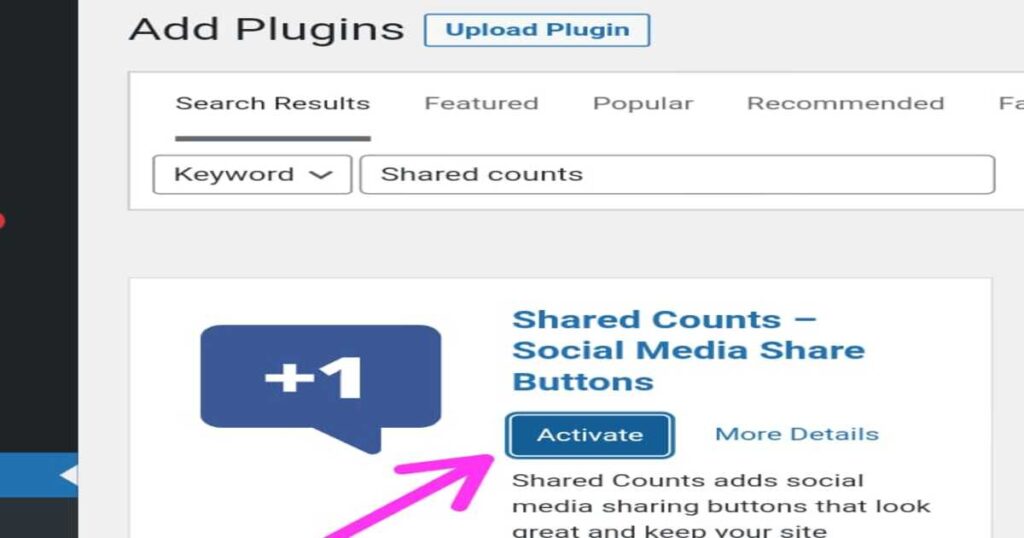
Use the search function to find the plugin you want to install. You can search by keyword or browse through the featured, popular, and latest plugins.
Once you’ve found a plugin you want to use, click the “Install Now” button.
After the plugin has been installed, click the “Activate” button to turn it on.
Configure the plugin’s settings to your liking. Each plugin will have its own set of options and configurations.
Save your changes and preview your blog to see how the plugin affects your site.
That’s all it takes to customize your WordPress blog with plugins. With so many options available, you can add just about any feature or functionality you can imagine to your blog.
Just be sure to keep your plugins up to date to ensure the best performance and security for your site.
Stage 5: How to Add a Contact Form to Your WordPress Website in 5 Simple Steps
A contact form is a great way to allow your visitors get in touch with you through your website.
Adding a contact form to your WordPress blog is easy and can be done in just a few simple steps.
Here’s how:
Install your preferred contact form plugin. There are many contact form plugins available for WordPress, such as Contact Form 7 and Gravity Forms. But I use WPforms on this website.
So, install one of these plugins to your WordPress site by going to the “Plugins” section of your dashboard and clicking “Add New.”
Then create a new form.
Once you’ve installed the plugin, go to the “Contact” or “Forms” section of your dashboard to create a new form.
Each plugin will have its own set of options and configurations, so be sure to follow the instructions provided by the plugin.
After creating one, customize the form.
You can customize the form to your liking by adding fields for things like name, email, and message.
You can also customize the form’s appearance by changing the colors, fonts, and layout.
Once you’ve created and customized your form, add it to your blog. And test to see its functionality.
That’s all it takes to add a contact form to your WordPress website.
Stage 6: How to Boost Your SEO and Skyrocket Your Traffic with WordPress Optimization
Search Engine Optimization (SEO) is the process of improving the visibility and ranking of your website in search engine results pages.
Optimizing your WordPress website for SEO can help you attract more visitors and improve your search engine rankings.
Apply these simple steps to optimize your WordPress website for SEO:
Firstly, install an SEO plugin.
There are many SEO plugins available for WordPress, such as Yoast SEO and All in One SEO Pack.
These plugins help you optimize your website for search engines by providing features like keyword optimization and XML sitemaps. I use Yoast SEO, but considering All in One SEO Pack.
So, choose any of these plugins and install it following the usual procedure.
Once you’ve installed and activated it, it guides you and highlights key areas to correct and optimize in your blog posts before publishing.
Also, Use descriptive and keyword-rich permalinks.
A permalink is the permanent URL of a blog post or page. Using descriptive and keyword-rich permalinks can help search engines understand the content of your website to improve your rankings.
In addition to optimizing your blog posts, add alt tags to images.
Alt tags, or alternative text, describe the content of an image to search engines.
Adding alt tags to your images can help improve your SEO and make your website more accessible to users with visual impairments.
Also, use header tags appropriately.
Header tags, or H1, H2, H3, etc., help structure the content of your website and make it easier for search engines to understand.
Use header tags appropriately and include your keywords to improve your SEO.
Finally, create high-quality, unique content to rank better!
Content is king when it comes to SEO. Creating high-quality, unique content that provides value to your readers is crucial for improving your search engine rankings.
By following these simple steps, you can optimize your WordPress website for SEO and improve your search engine rankings.
Just be sure to keep your website up to date and continue to create high-quality content to maintain your SEO success.
Stage 7: How to Backup Your WordPress Website For Free
Backing up your WordPress website is an important step to ensure the safety and security of your data.
There are many paid backup solutions available, but there are also some free options you can use to backup your website.
This is how to backup your WordPress website for free:
Best way to backup your website is to use plugins.
There are many free backup plugins available for WordPress, such as UpdraftPlus and BackupBuddy.
These plugins allow you to easily create backups of your website and store them in the cloud or on your computer.
So, choose any of these free plugins. And install it following the usual procedure.
Activate it and configure it to backup your website weekly or monthly.
By following these steps, you can easily and freely backup your WordPress website.
Just be sure to regularly create backups to ensure the safety and security of your data.
Stage 8: Additional Free and Practical Video Tutorials to Master WordPress Web Design
I understand you may need practical videos to watch just to grasp many of what I’ve explained in this guide. And have provided some excellent ones with this guide.
These videos would also come handy when you’re confused about any of the stages in this guide.
I like you to know the videos aren’t my tutorials. They were created by a WordPress guru I so much appreciate and admire, Tyler Moore.
So, all credits to him and his team for making these tutorials available for free.
These are the video tutorials:
This is all I’ve got for you. And I’m sure this is all you need to create your website successfully and become an experienced web designer.
Let me know your thoughts about this in the comment.
Thank you for reading.
This is great and insightful
Hi Ife,
Glad you found this content insightful.
Thanks for dropping by.